A cluster is a pair of nodes that share configuration and an active/standby relationship, providing automated high-availability (HA) connectivity.
A cluster is a pair of nodesat a single site that share some configurations and provide automatic failover. An additional IP address is assigned as a Cluster Virtual IP address that can move between the nodes if failover occurs.
Certain settings such as network services and VPN settings can be configured for the cluster and these settings will override the individual node’s configuration.
Requirements
Nodes in the cluster must be using the same model of appliances
Nodes must be able to create direct TCP connections with each other
Nodes must be at the same physical site.
Using multiple public cloud (AWS/Azure) availability zones (AZs) within the same region are acceptable as they provide highly reliable connectivity between the nodes.
Cluster Member Shared Configuration
Cluster members can share the configuration for the following services:
Networking
Interfaces
Interface routes
Cluster VIP (supported in on-premise, traditional network environment)
These settings determine how the cluster itself operates and how members communicate with each other.
Cluster Heartbeat Communication
Cluster members utilize a direct TCP connection to each other to determine if their partner is online and share their health status. Each node will listen on a configured heartbeat IP and port, while at the same time connecting to their partner’s configured heartbeat IP and port.
Local ACLs allow only the partner cluster member to connect to the listening port.
Heartbeat communication is configured on each node’s cluster page.
Cluster Mode
A cluster can be configured in two different modes to determine what happens when a failed member returns to healthy status:
Automatic Failback (Default) - In this mode the member set as the Configured Active (see below) will maintain the active role as long as it is online and healthy.
Manual Failback - In this mode, the active role only moves if either the current holder fails or the configured active is changed
Cluster mode options: Automatic and Manual Failback
Consider a cluster with members named Node1, the configured active, and Node2.
Event
Automatic Failback - Active Member
Manual Failback - Active Member
Initial State
Node1
Node1
Node1 unhealthy/offline
Node2
Node2
Node1 returns to healthy/online
Node1
Node2
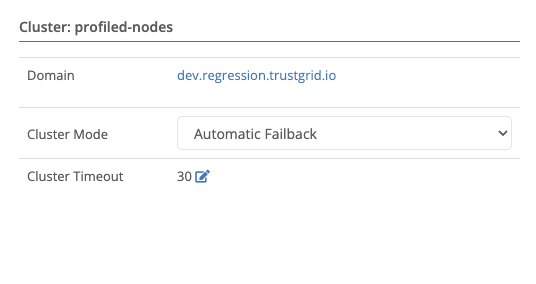
Cluster Timeout
The cluster will wait a configurable amount of time before considering a failed member as lost. This timeout is configurable on the cluster page.
Cluster Member Health
There may be situations where both cluster members are online and can communicate with each other, but external conditions exist that make a node unsuitable to hold the active role. The Trustgrid node service monitors for such conditions and will make a node as unhealthy if one occurs. The node will release the active role and its standby member will take over if it is online and healthy.
When the condition clears the node will declare itself healthy and inform its partner member. Depending on the cluster mode it may reclaim the active role.
Cluster Member Health Conditions
Loss of cluster heartbeat communication - If a node cannot communicate with its partner nodes on the configured IP and port it will declare that partner node unhealthy and claim the active role if it has not already.
Interface Link (Up/Down) State - Any interface configured with an IP address in the Trustgrid is monitored for a successful connection to another network device
Example: In a two-interface setup it would be possible for the LAN interface to become unplugged but the node to remain online from the cloud and data plane perspective. However, the lack of LAN connectivity would prevent the node from delivering any Trustgrid services to that network
Note: If only a single node has an interface configured that is not critical for the node to function, such as an alternate MPLS path, you can enable the Ignore Health Check option on that interface to prevent it from marking the node as unhealthy if that interface goes down.
Upstream Internet Issues - If a Trustgrid node is unable to build connections to both the Trustgrid control plane AND data plane connections to its gateways the node will be marked as unhealthy. This does require all the connections to be failing before it is triggered
Example: If an upstream internet provider or device experiences failure the node will not be able to provide any services.
WAN Interface DHCP failure - If the WAN interface is configured to use DHCP and it does not receive a DHCP lease it will mark itself unhealthy.
Active Member Determination
The active member of a cluster is determined by the following factors:
Cluster heartbeat communication
Cluster mode
Configured active member
Cluster member health
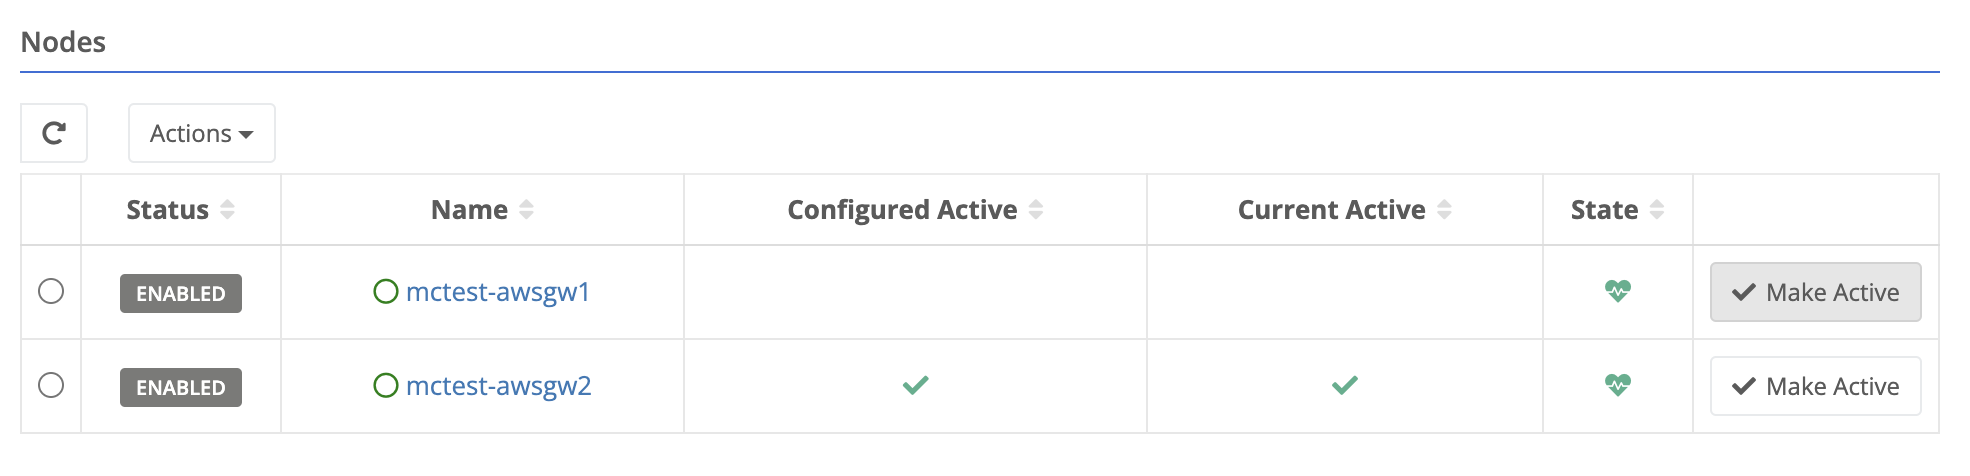
Configured Active
Each cluster will have one configured or preferred active member. This is reflected in the overview section.
Cluster Members list showing configured and current active member
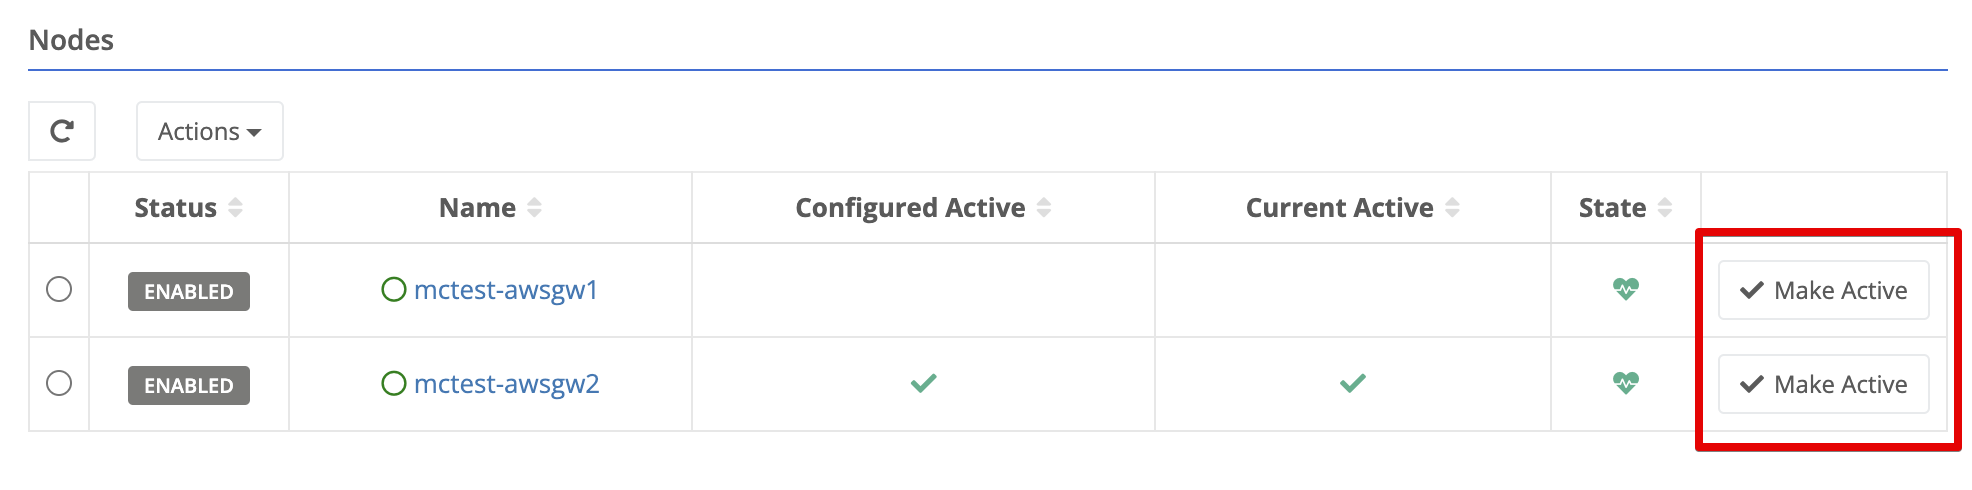
Change Configured Active
To change the configured active member:
Click the make active button in the row for the desired node.
Make Active Button in cluster member row
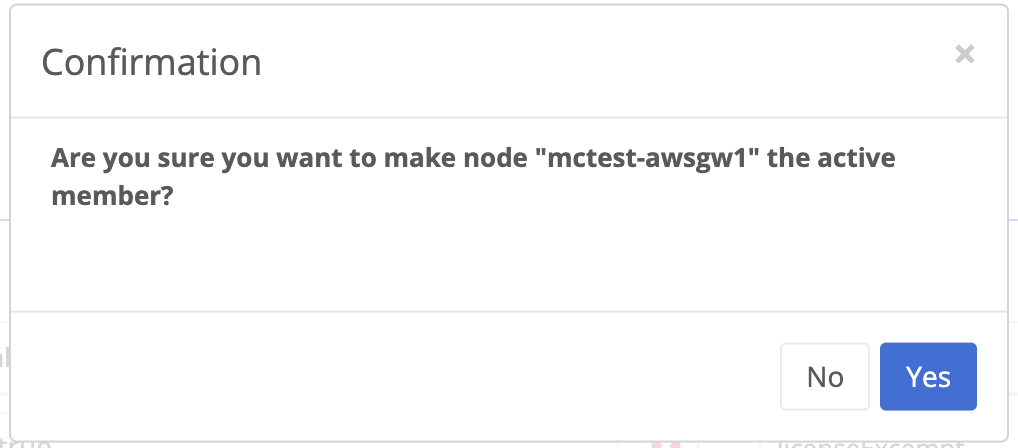
A prompt will appear asking for confirmation. Click the “Confirm” button.
Prompt to confirm change of active member
This change will be pushed to each member. They will then attempt to transfer the active role to the new configured active member assuming it is online and healthy. After this change the “Current Active” will be updated to reflect the new active member.
Cluster Health Tools
These tools can be used to help diagnose issues with cluster members and their communication.
View Cluster Health
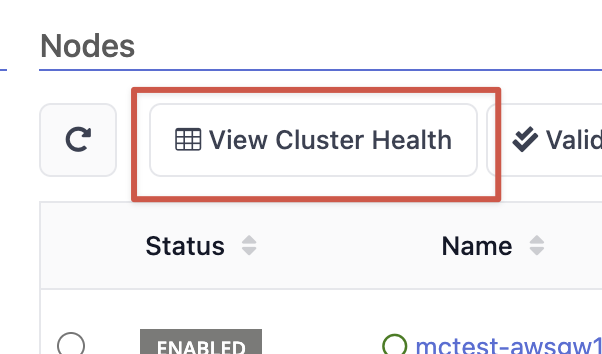
This tool will trigger both nodes to run a service that evaluates the health of the cluster members and their communication. This can be helpful to determine why a member is not taking or retaining the active role.
Just click the “View Cluster Health” button on the cluster overview page.
View Cluster Health button on cluster overview page
After a few moments a dialog will appear showing the health state of each member. Under each member you will see the results of the health checks performed.
The first section will report information about the node itself. Cluster Health State dialog
Field Name
Description
Name
The node’s name.
State
The current role of the node in the cluster (e.g., Active or Standby).
Upgrading
Indicates whether the node is performing a software upgrade.
The active configuration version applied to the node. This number increases each time the configured active member is changed. If peers differ, the nodes will defer to the node with the highest version.
Active From Config
This will report “Yes” if the Active Configuration specifies this member should be the active member.
Node Info Timestamp
Timestamp for when the node last reported node-specific info. This file includes the Active Configuration.
Domain Info Timestamp
Timestamp for when domain-related information was last reported. This file includes which nodes are members of the cluster.
The second section will report information learned about from its peer member.
Field Name
Description
Name
The peer node’s name.
State
The current role of the peer node in the cluster (e.g., Active or Standby).
Node Version
Software build or version reported by the peer node.
Active Config Version
The active configuration version applied to the peer node. This number increases each time the configured active member is changed. If peers differ, the nodes will defer to the node with the highest version.
Restart Cluster Server
This tool should only be used if a cluster has remained in a dual active or dual standby state for several minutes. Use the View Cluster Health State tool to diagnose the issue first. It is not intended to be used as a routine operation after every failover event.
Some changes and conditions can result in a cluster with both members reporting as active or both reporting as standby. In these situations, a cluster server restart may be required to restore normal operation. This will not restart other node services but can still impact connectivity if it results in a cluster IP or route changing. But it is less disruptive than a full node restart.
To restart the cluster server, open the cluster Overview page, select the cluster member in the Nodes table, click Actions, and then select Restart Cluster Server. The portal displays a confirmation dialog before sending the restart request.
The restart action was moved under Actions and now requires confirmation to help prevent accidental restarts during failover or failback activity. This change was made after an accidental restart during failback contributed to a dual-active split-brain incident.
Typically it is best to start by restarting the cluster server on the expected standby member first, then the active member if needed. This minimizes disruption as the active member will remain active during the standby member restart.
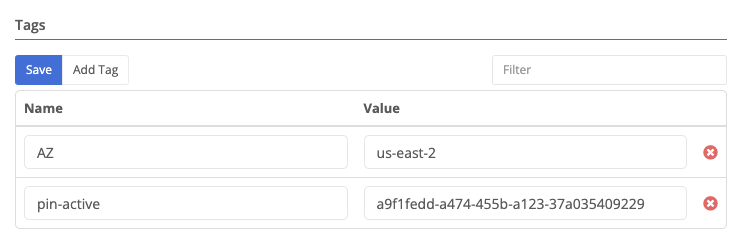
Tags
Tags are visible at the bottom of the overview page for the resource. Tags applied to a cluster will be applied to both members of the cluster.
Cluster tags shown at the bottom of the overview page
Modifying Tags
To add a tag:
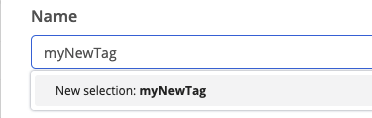
Click Add Tag.
A new row will appear at the bottom of the tags table. There will be a list of existing tag names for your organization. You can filter the list by typing in the field. You can either select an existing tag name, or create a new one by typing it out in full and then selecting New selection: tagName.
Creating a new tag name for a cluster
Next move to the values field. As with the name, existing values will be listed. To enter a new value type it in completely.
Click Save
Tag rows can be edited in-place. Change the name or value, then click Save.
To remove a tag, click the red X next to the tag name, then click Save.
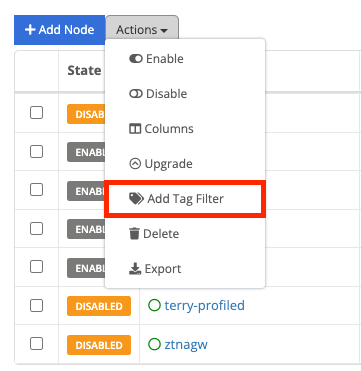
Applying a Tag Filter to the Clusters Table
The clusters table can also be filtered to only show clusters with a specific tag name:value.
On the clusters table click Actions and select Add Tag Filter from the drop-down menu.
Add Tag Filter option in clusters table
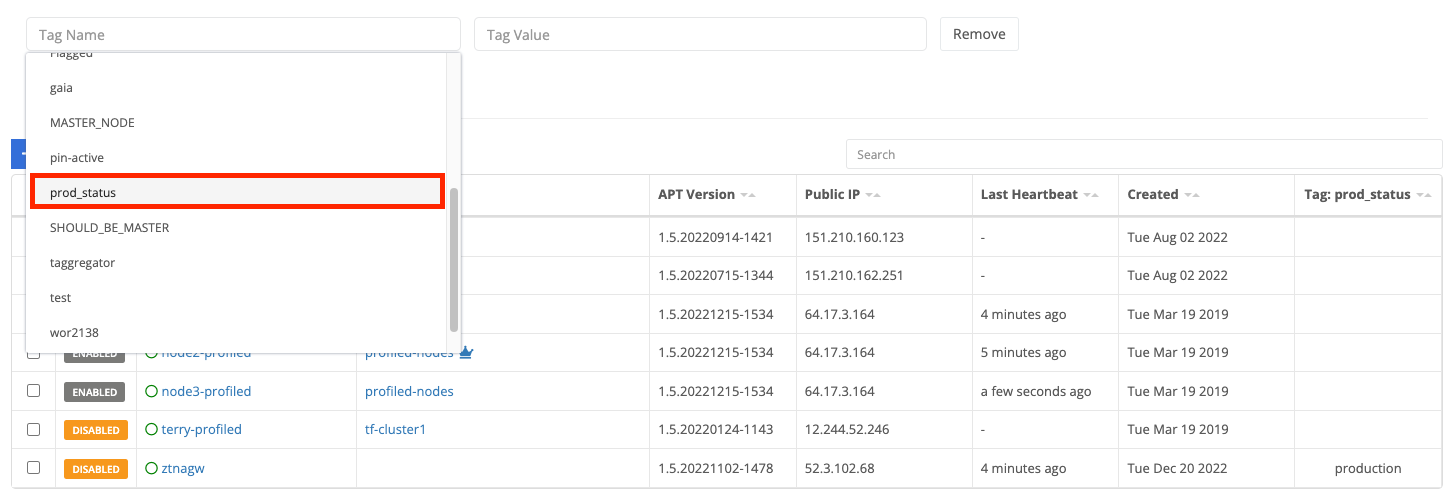
After clicking Add Tag Filter, select the tag-name field and you will see a list of tag-names available. Select the desired tag.
Selecting a tag name for filtering clustersYou can also start typing to filter what tag names are shown.
Select the tag value field and you will see a list of available values. Select the desired value.
(Optional) Click Add Tag Filter to include an additional filter. Note that the two filters will be applied using AND only clusters with both tag name:value combinations matching will be shown.
Click Apply Tag Filter and the table will only show matching clusters.
Clusters table filtered by tag name and value