Implement Access Policy Restrictions
6 minute read
When designing a network from a zero-trust, least-privilege mindset, all agents and appliances should restrict access as much as possible both to each other and their adjacent network resources. Trustgrid allows for granular control over what traffic is permitted across the virtual network using access policies. The default virtual network was created with an “Allow All” policy to facilitate initial connectivity during the trial period.
In this section, we will update the policy to restrict traffic between the two agents.
High-Level Steps
- Generate TCP traffic between the agents
- Create an access policy to deny all traffic and verify traffic is blocked
- Create additional policies to allow specific traffic
Prerequisites
- Two agents installed and confirmed communicating (pingable) on the default virtual network as set up in previous tutorials
- Netcat (
nc) installed on both agents to generate and capture traffic. This utility is commonly installed by default in most Linux OSes, but may need to be installed manually.
Step 1 - Generate Traffic
100.64.0.1 and agent2 was assigned 100.64.0.2. If your agents were assigned different IP addresses update the below commands accordingly.Start TCP Netcat listener on agent1
Netcat (or nc) is a versatile networking tool that can function as a client to send data to other hosts or as a listener to receive data on a specified port. We will first configure it to listen on agent1.
- Gain console access to agent1.
- Run the below command to start netcat listening on TCP port 5000.
nc -k -l 5000 - Leave this terminal open as netcat will continue listening in the background and will display any data sent to port 5000.
Send Traffic from agent2
- Gain console access to agent2.
- Run the below command to send a message from agent2 to agent1.
echo "Hello from $(hostname)!" | nc -q 1 100.64.0.1 5000 - After about a second you will be returned to the command prompt for agent2 with no output.
- Return to the console for agent1 and you should see a message like
Hello from agent2!
Netcat listener output on agent1
Stop TCP Netcat listener on agent1
- Return to the console for agent1 and press Ctrl-C to terminate the netcat listener that was started in Step 1.
Confirm Ping (ICMP) Traffic
Before implementing access policy restrictions, confirm ping (ICMP) traffic is still allowed between the agents:
- On agent1 run:
ping -c 3 100.64.0.2 - On agent2 run:You should see ping responses from the other agent, confirming ICMP traffic is still permitted by the default “Allow All” policy.
ping -c 3 100.64.0.1
Step 2 - Deny All Traffic
Update Existing Access Policy
Now we will update the default policy to deny all traffic and confirm TCP communication is blocked:
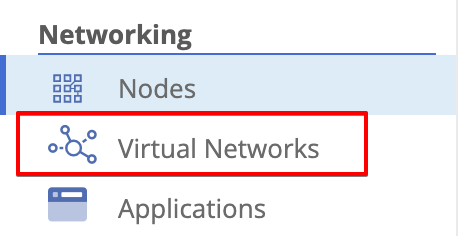
- In the Trustgrid portal, return to the home page and select the Virtual Networks option from the left navigation menu.
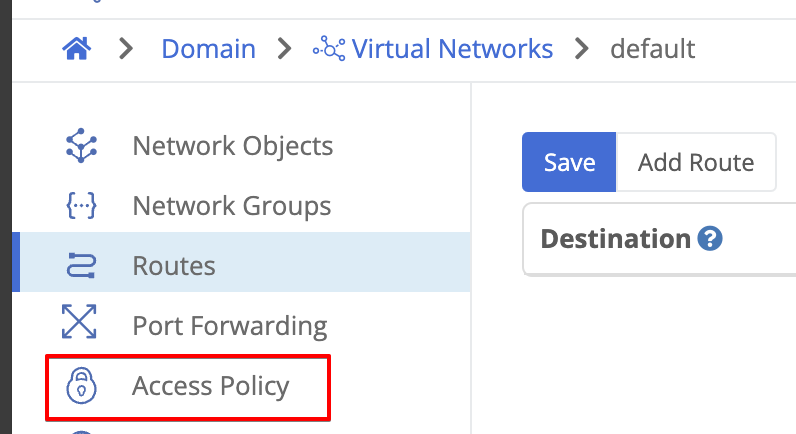
- From the Virtual Networks table, select the default virtual network.

- Click the Access Policies option from the navigation menu on the left.
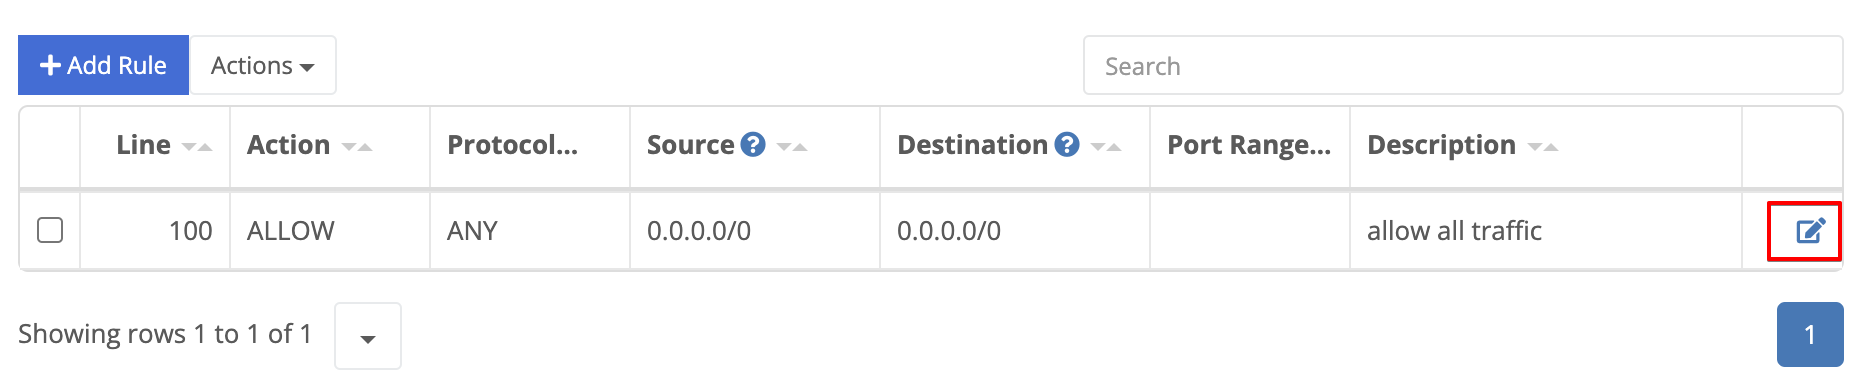
- The existing “Allow All” policy will be displayed. Click the edit button on the far right.
- Change the policy action to “Reject”, update the description to say ‘deny all traffic’ and click Save.
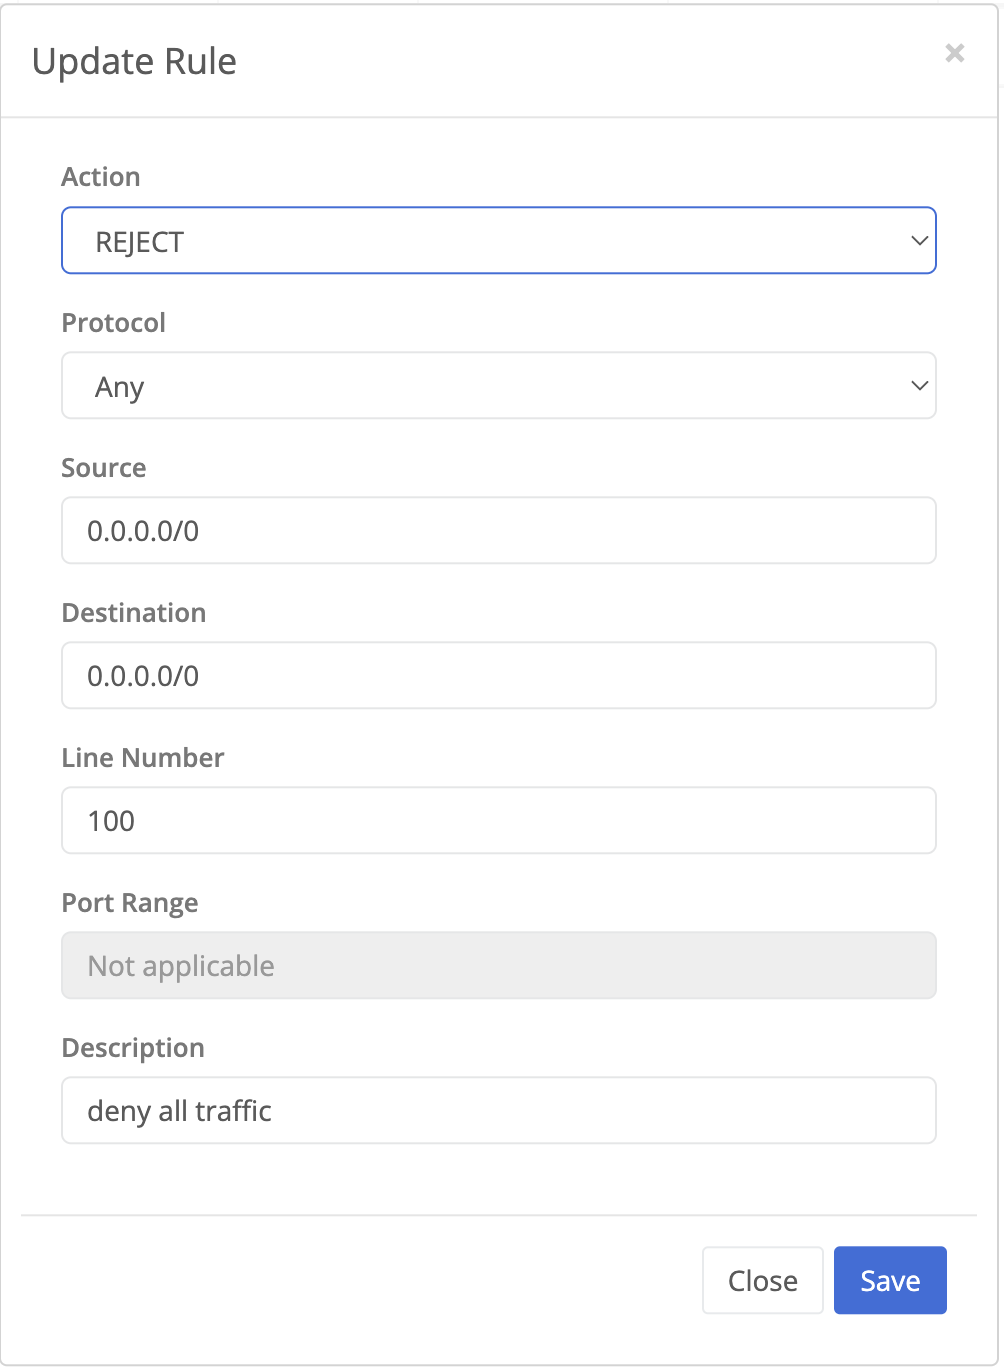
- In addition to the “Allow” and “Reject” actions is the option to “Drop”. This will also deny traffic but without sending a response back to the source. Reject is preferred for the trial because it provides feedback that traffic was blocked. This may not be the desired setting in a production environment.
- All changes at the virtual network level must be reviewed and applied before being broadcast to nodes. Click the Review Changes from the left navigation menu. You will see the previous and new settings. Click the “Apply Changes” button and then confirm when prompted.

Confirm ICMP Traffic is Blocked
- On agent1 run:
ping -c 3 100.64.0.2 - On agent2 run:You should see ping responses from the other agents are now filtered.
ping -c 3 100.64.0.1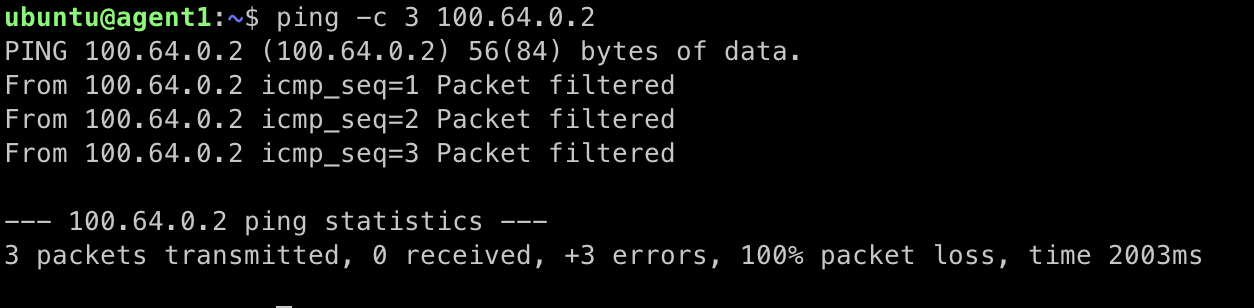
Terminal showing ICMP filtered responses
Confirm TCP Traffic is Blocked
- On agent1, run the following command to start netcat listening on TCP port 5000.
nc -k -l 5000 - On agent2, run the following command to test connectivity to port 5000 on agent1:You should see a “Connection refused” message indicating the TCP connection was blocked by the deny all policy.
nc -vz 100.64.0.1 5000
Netcat output showing 'Connection refused' - Return to agent1 and enter Ctrl+C to terminate the netcat listener.
Step 3 - Allow Desired Traffic
Now that we’ve confirmed the virtual network is blocking traffic we can add rules to allow the specific traffic we want.
Allow all ICMP
First, we will add a rule to allow ICMP between all addresses on the network. This is frequently used as a troubleshooting tool with very little risk.
- In the Trustgrid portal, navigate to the default virtual network’s access policies page.
- Click the “Add Rule” button.
- Configure the rule as below:
- Action: Allow
- Protocol: ICMP
- Source: 0.0.0.0/0
- Destination: 0.0.0.0/0
- Line number: 90 (It is important that the rule number is lower than that on the default deny all policy, 100, so that it is evaluated first)
- Description: Allow all ICMP
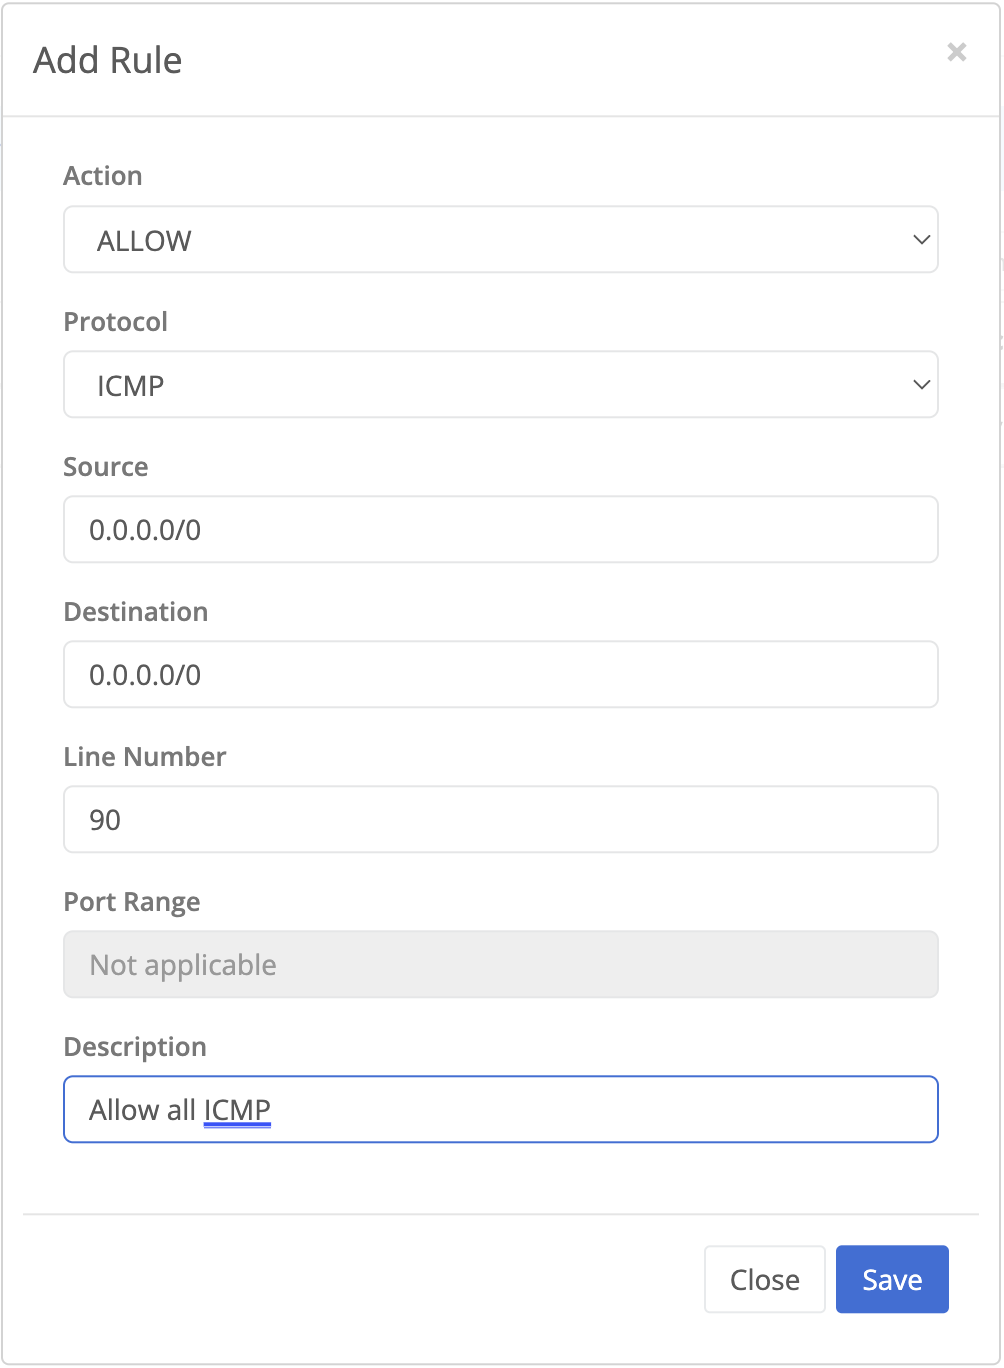
- Click Save
- Select the Review Changes panel, click Apply Changes and, then confirm.
Confirm ICMP Allowed
- On agent1 run:
ping -c 3 100.64.0.2 - On agent2 run:You should see ping responses from the other agent, confirming ICMP traffic is still permitted by the new policy.
ping -c 3 100.64.0.1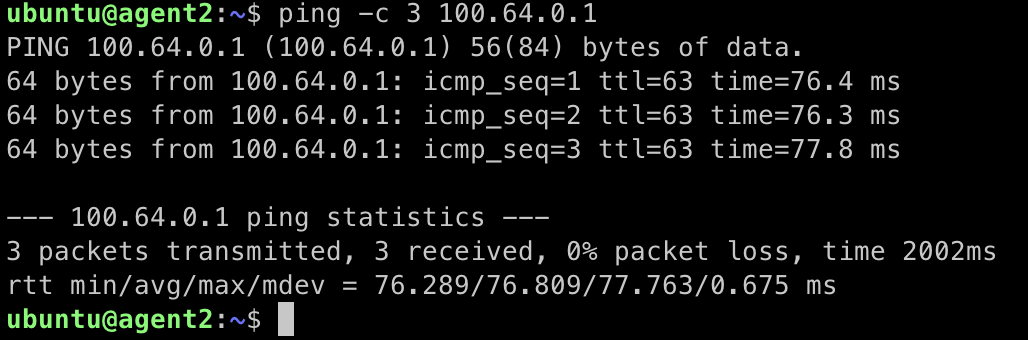
Successful ping from agent2 to agent1
Allow Specific TCP
Next, we will add a rule to allow more specific TCP traffic. Specifically, we will allow agent2 to connect to port 5000 on agent1.
- In the Trustgrid portal, navigate to the default virtual network’s access policies page.
- Click the “Add Rule” button.
- Configure the rule as below:
- Action: Allow
- Protocol: TCP
- Source: 100.64.0.2/32
- Destination: 100.64.0.1/32
- Port Range: 5000
- Line number: 80 (It is important that the rule number is lower than that on the default deny all policy, 100, so that it is evaluated first)
- Description: Allow TCP 5000 on Agent1

- Click Save
- Select the Review Changes panel, click Apply Changes and, then confirm.
Confirm TCP 5000 Allowed
Now, we will confirm the specific TCP rule is allowing traffic as expected:
- On agent1, run the following command to start netcat listening on TCP port 5000.
nc -k -l 5000 - On agent2, run the following command to test connectivity to port 5000 on agent1:
nc -vz 100.64.0.1 5000
Successful connection to port 5000 on agent1
But, we also want to make sure other TCP traffic isn’t allowed.
- On agent1 enter Ctrl+C to terminate the netcat listener. Then enter the command:
nc -k -l 5001Note that the port has changed to 5001 - On agent2, run the following command to test connectivity to port 5000 on agent1:
nc -vz 100.64.0.1 5001
Connection refused on port 5001
Next Steps
So far we’ve only seen traffic passing between two agent IPs. In the next tutorial, you will see how you can route traffic to adjacent network devices.
Feedback
Was this page helpful?
Glad to hear it! Please tell us how we can improve.
Sorry to hear that. Please tell us how we can improve.